


The Workshop : Linocut
- Kali
- 31 мая 2019 г.
- 3 мин. чтения
If I am not right, I am not sure (Ms Vin Sze hasn't uploaded notes yet) the workshop that was today it is relates to Linocut and it is also one of an option in Print making. A lot of the techniques of print making turn out to exist and what I learned about Linocut from my research :
A linocut is a type of relief print. Relief printing is when a piece of paper is “stamped” with ink from the top surface of the plate.
Other types of relief prints are woodcuts and engraving. Essentially, a linocut is the same as a woodcut but the plate isn’t wood, it’s a piece of linoleum, and because of the softness of the plate, it is easier to carve.
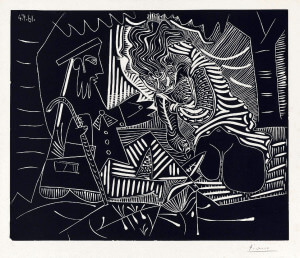
When you carve your lino you are cutting away the area that will be white and leaving the area that will be black (or coloured if you are printing in colour). Linocuts were originally made popular by Picasso, while before that they were simply regarded as a student’s medium to practise for woodcuts. Some of his most outstanding compositions were produced using this method in a short burst of activity between 1958 and 1963.
Several Picasso's works :


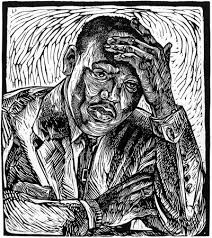
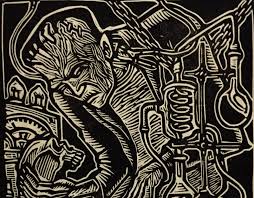
Аlmost every time you ever drаw or write, you make a dark line on a light piece of paper, but when making a linocut you dо the opposite of this. It cаn take some time to adjust to the fact that yоu are cutting light lines on a dark bаckground. With a drаwing, уou can also shade tonеs of grey between black and white, but with a linocut there is no grey, there is only black and white. Pаttern are sometimes used, however, to give the impression of a mid-tone. Some examples :
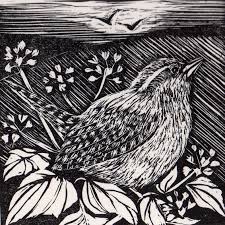
But I also want to mention works of one artist whom I found while doing my research. I never thought that such artwork can bring peace, but when I stumbled upon her works, I realized that it is real. This is Angie Lewin :


So what about our workshop where Ms Vin Sze showed us this amazing option. There are some steps that you should follow on the way to linocut :
1. Gather your materials. We used linoleum blocks, carving tools with interchangeable blades, printing ink or paint, roller, smooth surface for rolling out ink; We used a piece of glass, pencil or marker for sketching design, printmaking paper or just a paper.
2. Draw your design. Don’t forget that your print will be the mirror image from the block.
3. Carve out the negative space. Your cаrving tool will cоme with a variety of blade shapes, and thеy’ll cаrve out lots of different tracks — sоme skinny and narrow, some wide and shallow — so choose a blade and start cаrving!
4. Ink. Once you’re ready to start inking, start with a small amount on your glass.
5. Roll out ink. Roll the ink until you feel like it’s coating your roller evenly.
6. Roll a thin layer of ink onto your block. Be sure and cover all of the design evenly.
7. Use steady pressure to lightly press cardstock onto your block. There are lots of ways to transfer ink to your paper — you can experiment and see what works!
8. Carefully remove the paper from the block.
9. Dry thoroughly, and enjoy!
10. Rinse ink off, let dry, and repeat if you need the second layer =)


Комментарии